Outdoors
A bracket for a greenhouse vent opener
Make a metal bracket so a purchased greenhouse vent opener fits your frame. Do not hang a glass vent on an untested plastic clip.
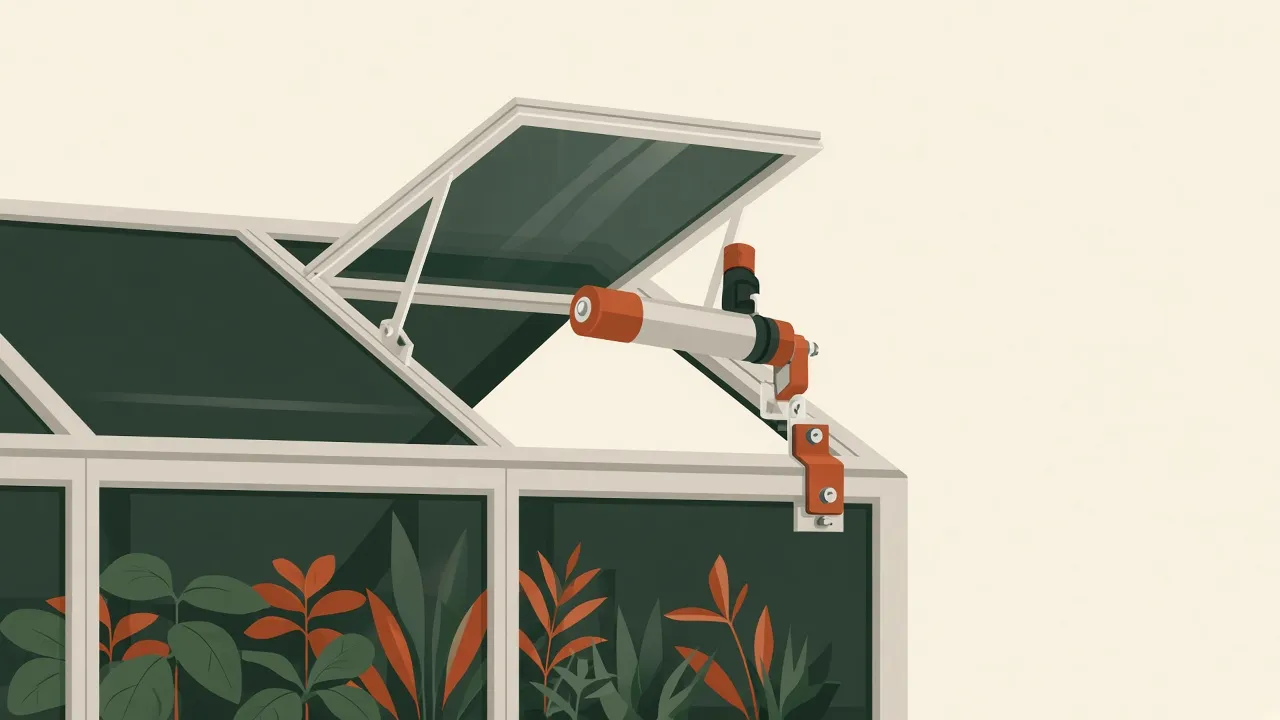
Automatic greenhouse vents are usually a purchased cylinder, a wax or a spring doing the pushing, and a pair of brackets that assume a frame you do not have. The cylinder is the product. The bracket is the vibe-manufactured part: a plate that picks up your timber, your aluminum bar, or your window stile, and presents the opener’s pin where the arm expects it.
The loop is vibe manufacturing in weather. A van bracket has the same rule: adapt the commercial hardware, do not redesign the part that does the work.
The problem
You already have a vent, a cold frame, or a roof light. You bought an opener. The included feet land between glazing bars, or they want a screw where your frame is a hollow aluminum section with nothing to bite.
You need a bracket that:
- Bolts to the opener using the opener’s own holes or pins.
- Bolts to your frame where there is actually material.
- Survives sun, water, and a wind gust without being the reason a pane falls.
You do not need a new cylinder, a new spring rate, or a printed clip that “should be fine” holding glass. If the opener’s instructions name a maximum vent weight or a maximum opening, those numbers are the opener maker’s, and this article will not repeat or improve them. If your vent is outside what you bought, change the vent or the opener.
Workflow
1. Measure
Measure the frame and the opener together, on a calm day, with the vent propped so it cannot fall on your hands.
- The opener’s hole or pin spacing, from the hardware, not from a listing photo.
- The frame section: timber size, or the aluminum bar’s width and where a bolt can pass without hitting the glazing.
- How far the arm needs to sit from the hinge so the vent opens instead of binding. The opener’s sheet may show a starting distance. Use that as the question to check on your frame, and mock it up. Do not invent a more optimistic distance.
- The weight class you already accepted by buying that opener. Write down the model. If you do not know whether the vent is inside the opener’s stated use, find out before you design a prettier foot.
- Fastener length so a screw does not come out the far side of a thin stile into the pane.
Millimeters. Photographs. A prop under the vent until the real bracket is installed and the temporary one is not the only thing holding glass.
2. Prompt for a CAD file
Ask for a plate or a simple bent angle. Forbid a new actuator.
Model a 3 mm aluminum angle bracket for a purchased greenhouse opener.
One leg is 80 mm by 30 mm with two 6.5 mm holes spaced 45 mm apart,
matching the opener arm. The other leg is 70 mm by 30 mm with two
6.5 mm holes that land on a 40 mm wide timber rail.
Bend 90 degrees. No spring, no wax cylinder, no plastic clip.
Export DXF and STEP in millimeters.
Use your spacing. If the frame is hollow aluminum, say so in the prompt and design for bolts and nuts, not for wood screws. Tell the tool not to add decorative cutouts. A cutout is where water sits and where a crack starts.
3. Prototype
Cardboard or a scrap of thin sheet, bent or taped at the angle. Clamp it. Cycle the vent by hand with the opener disconnected, and see whether the holes line up at closed and at open. Then connect the opener only when the prop is still there. Watch for the arm binding at the hinge side. A bind is a measurement error. A pretty bracket that binds will buckle something, and it might be the vent.
If you are tempted to print a plastic bracket “just for the season,” treat that as the prototype, not the install, when the vent is glass or heavy. Sun and a gust are a long test. Metal is the install.
4. Review
Units, hole diameters, and edge distance. Outdoor fasteners want enough metal around the hole that the bracket is not a stamp with a slot to the edge. Read the sheet shop’s minimums. Stainless fasteners are the usual pair with aluminum outdoors. Confirm you can buy that screw before you freeze the hole size. A 6.5 mm hole and an M6 bolt is a common approach. Verify it against the bolt you will use.
Check the opener’s range of motion against the bend. A 90-degree angle is not always the angle of your frame. If the rail is not square to the vent, say that in the model. Do not “correct” the greenhouse into a rectangle.
The dog door panel has the same outdoor-material question: the file is the plate, and the weather is not a surprise you save for week six.
5. Send it to a fabricator
Send the DXF and STEP to a sheet shop that will cut and bend aluminum. A local metal shop is a good fit if the angle might be slightly off and you want them to look at the cardboard. Ask for deburring. A raw laser edge on a bracket you will adjust by hand is how you get a cut.
Install with the vent propped. Fasten the frame leg. Then the opener. Remove the prop only when the arm holds the vent through a hand-cycled open and close. If the bracket flexes visibly, stop using it and thicken the design or shorten the reach. Visible flex under the vent’s own weight is enough information. You do not need a storm to continue the test.
Tools and services
- The purchased opener and its instructions.
- Tape, calipers, and a prop for the vent.
- A CAD draft in DXF and STEP.
- A sheet-metal shop. A print farm only for a template, not for the glass-carrying install.
- Stainless or other outdoor fasteners that match the holes, with nuts if the frame is hollow.
Cost and time
Estimate, not a quote. A small aluminum angle is often a modest sheet-metal order, roughly a few tens of dollars up to something under a hundred before shipping, with stainless fasteners on top. Thickness and a second bend move it. The opener itself is not inside that range. Get the bracket quoted. The number above is a planning estimate so you know you are making a plate, not a greenhouse.
Estimate, not a schedule. Measuring and a cardboard cycle can be a couple of hours if the vent is already hung and propped. The shop takes as long as the shop takes. Do it before the hot week you bought the opener for, including time for a second plate if the angle was wrong.
Pitfalls
- A plastic clip as the final holder for a glass vent.
- Redesigning the cylinder or the spring in the prompt because the brackets were annoying and the model offered to “improve” the mechanism.
- Ignoring the opener’s own limits and using a custom bracket as if it added capacity.
- Wood screws in hollow aluminum, or bolts long enough to kiss the pane.
- Decorative holes that cut the leg down to a ribbon.
- Removing the prop before the arm has been cycled by hand.
- Mixing units, then bolting on a bracket that misses the rail by a comfortable, useless margin.
- Leaving steel fasteners to streak the aluminum and seize. Buy the outdoor fastener with the bracket, not on a later trip.
FAQ
Can I print the bracket in plastic and hold a glass vent with it?
Do not hang a glass or heavy vent on an untested plastic clip. Use metal for the bracket that carries the vent, and use plastic only for a template or a light cover. Wind and ultraviolet light are part of the job.
The stock opener included brackets. Why make one?
Because the arm's hole pattern often does not match a timber frame, an aluminum greenhouse glazing bar, or a window you already hung. You are adapting the purchased opener to your frame, not redesigning the wax cylinder or the spring.
Will this auto-vent a large roof light?
Only if the opener you bought is sold for that size and weight. Read the opener's own limits. A custom bracket does not increase them. If the vent is heavier than the opener claims to lift, buy a different opener or vent the house another way.
Is the price range the opener plus the bracket?
No. The range is a rough estimate for the custom bracket and outdoor fasteners. The opener is a separate product with its own price. Shipping and material change the bracket number. Ask the shop.