Workshop
French-cleat holders for odd tools
Design french-cleat holders for tools that miss store-bought racks, and screw the wall strip into studs. Both bevels have to match.
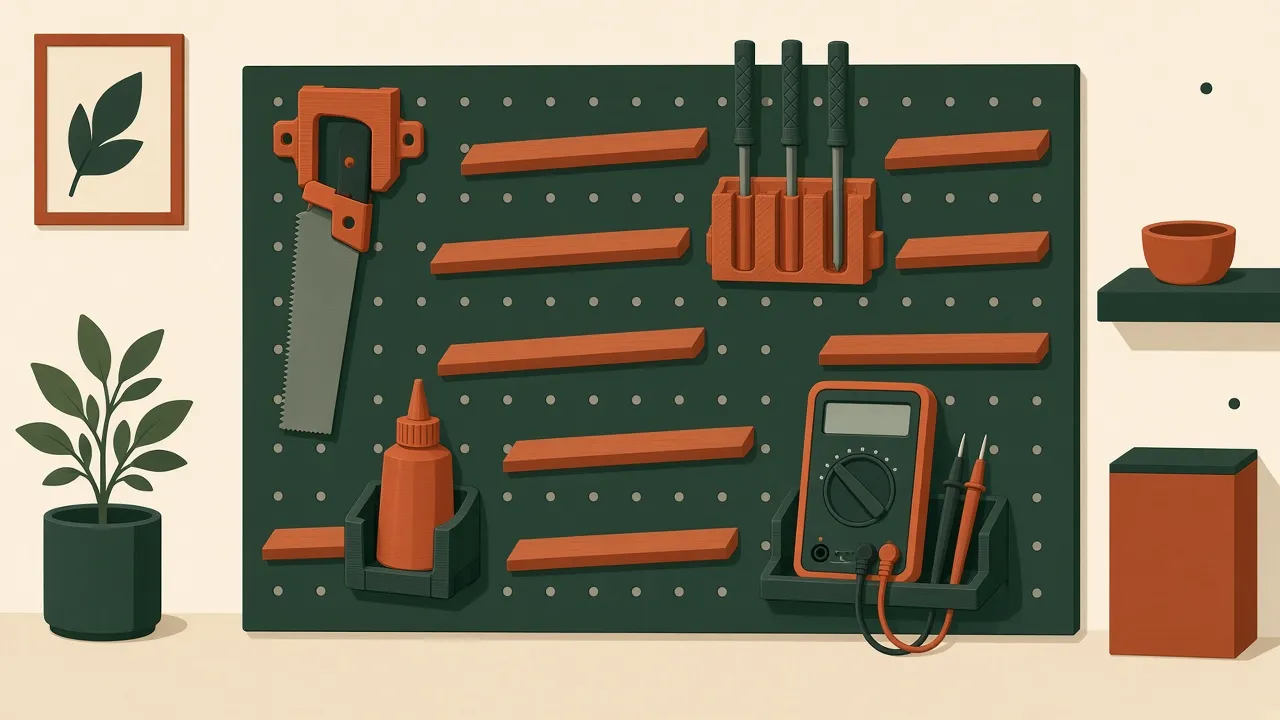
Store-bought racks assume a broom, a level, or a drill of a size the rack designer owned. The heat gun with the awkward nozzle, the hand plane, the clamp with the long bar, and the hot-glue gun do not fit. A french cleat is a wall strip with a bevel, and a holder with the mating bevel, so you can lift the holder off and move it. The custom part is the holder that touches the odd tool. The part people skip is the screw that goes into a stud.
This is vibe manufacturing in the shop: a measured tool, a draft profile, a first holder you can drop on the bench without crying, then a wall fastener you chose on purpose. It is also the sane home for loose gym handles if you followed the light-duty clip note and refused to print a carabiner.
The problem
The tool has a shape that a universal hook fights.
- A plane wants a cradle under the body, not a hook on the knob.
- A heat gun wants a saddle that keeps the hot nozzle off the wall and off the next tool.
- A long clamp wants two supports so it does not lever out of a single peg.
- A handful of driver bits wants a small tray, light enough that a print is honest.
The wall wants a continuous cleat, usually plywood, beveled at 45 degrees, screwed into studs. Each holder gets the mating bevel and can slide along the strip. You are not building a cabinet. You are not hanging a heavy vise from drywall anchors because the stud was inconvenient.
Workflow
1. Measure
Measure the tool in the orientation it should rest. A plane on its side is a different holder than a plane on its sole.
- The diameter or thickness of the part the holder touches.
- The length, if it needs two supports.
- Clearance for a hand to lift it off. A holder that captures a tool with a latch you cannot open while holding the tool is a future annoyance.
- Stud locations on the wall, found with a finder and confirmed with a small pilot you are willing to own. Mark the centers in pencil.
- The cleat stock thickness. A 19 mm plywood strip is a common shop choice. Use what you can cut flat. Measure the sheet you have, because “three-quarter” is a nominal phrase.
Millimeters or inches, one of them, written down. Photograph the tool on a scrap so the prompt does not idealize it into a cylinder.
2. Prompt for a CAD file
Ask for the holder and the cleat profile as separate flat parts if you will cut them on a saw or a CNC. Be explicit about 45 degrees.
Draw a french-cleat tool holder for a heat gun.
The gun body is 55 mm in diameter. The saddle is a half-circle of 29 mm radius
with 10 mm of extra width so it lifts out.
The back of the holder includes a 45-degree cleat bevel along the top edge,
mated to a wall strip of 19 mm plywood with the same 45-degree bevel.
No latch. Export a DXF profile in millimeters and a STEP if the saddle is not a flat cut.
Label the wall strip and the holder as separate parts.
Use your tool. If the assistant draws a nice hook with no bevel, it has drawn a screw-on hook. Ask again, or add the bevel yourself in FreeCAD or a similar tool. The bevel is the product.
3. Prototype
Cut the first holder from scrap plywood or cardboard at the profile, even if the final one will be neater. Hang it on a short offcut of cleat held in a vise, not on the wall. Put the tool in it. Lift the tool out. Shake the offcut. A tool that hops out in your hand will hop out when a door slams.
For a light printed holder, print one and do the same shake test on a cleat offcut. Look at how the bevel is oriented. A printed bevel that tapers the wrong way is a ramp, and the holder walks off.
Only then mount a wall strip. Hit studs. Use screws long enough to enter the stud, not just the drywall. If you do not know what is inside the wall, find out before you hang a row of steel. This is the step a study-model cradle never has to pass. The cradle sits on a bench. The cleat does not.
4. Review
Check the two bevels against each other, physically, not only in the render. Check the DXF units. Check that a CNC toolpath or a saw angle matches the drawing. A 40-degree cut and a 45-degree cut look similar in a thumbnail and fail on the wall.
Look at the fastener schedule you actually bought: length, diameter, and where they land. A generated “wall thickness” is not a fastener rating. The rating, if you need one, is the fastener maker’s, for the material you are screwing into. If the tool is heavy and you cannot explain the fastener, choose a lighter tool for this holder.
If a shop is cutting a batch, read their minimum feature size so the saddle does not arrive with a broken nose. SendCutSend is an example of a flat-part shop if you cut the holders from sheet. A local CNC or a track saw is often the better tool for plywood. Use the machine that matches the material.
5. Send it to a fabricator
Many of these holders are a shop-made saw cut, and that still counts: the file or the sketch is the instruction, and the “fabricator” can be you. A CNC shop or a makerspace is the right call for a run of identical saddles. A print farm is the right call for a light tray. Tell them the material. Plywood thickness changes the bevel’s face width. Do not let a default 3 mm acrylic setting cut a cleat you meant to be wood.
Mount the wall strip level. Slide the holder on. Put the tool in it before you build nine more. The second holder is faster. The first one is the design.
Tools and services
- The tool, a tape or calipers, and a stud finder plus a confirming pilot.
- Plywood or another sheet you can bevel. A saw that can cut 45 degrees, or a CNC.
- A CAD or text-to-CAD profile you verify with a scrap.
- Screws that reach studs. Masonry anchors only if you know the wall is masonry and you bought anchors for that.
- A print farm or your own printer for light holders only.
Cost and time
Estimate, not a quote. A strip of plywood and a handful of screws is often the whole bill, somewhere in the teens to a few tens of dollars if you already have scrap, and higher if you buy a sheet and a shop cuts it. A planning range of about $15–$80 covers a small first wall, not a garage remodel. A CNC minimum can exceed the plywood. Get that number from the shop. The range is an estimate so you can tell a cleat project from a cabinet project.
Estimate, not a schedule. The first holder, including the shake test and finding two studs, is an afternoon if the wall is cooperative. Each additional odd tool is a repeat, shorter if you resist redesigning the cleat angle every time. The angle is done. The saddle changes.
Pitfalls
- A holder with no mating bevel, screwed hopefully to drywall.
- Both bevels cut, but mirrored wrong, so the holder sits on a ramp.
- Plastic hooks for dense tools.
- Anchors that miss the stud. The finder is a hint. The screw that suddenly spins is the confirmation you did not want. Back up and hit wood.
- A latch you need a second hand to open.
- Hanging a hot tool so the nozzle rests on the holder or the wall. Give the heat gun air and a rest that is not the bevel.
- Mixing inches on the stud layout with a millimeters saddle, then wondering why the set looks drunk.
- Treating a tine clip level of snap-fit as enough for a wall. The wall fastener is the structural part. The holder is the shape.
FAQ
What angle is the cleat?
The usual shop version is a 45-degree bevel, with the same angle on the wall strip and the holder so they lock as the holder slides down. Match the two angles. A pair that does not match will sit proud or fall off.
Can I hang a heavy vise this way?
Only if the cleat is fastened into studs or masonry with fasteners rated for that load, and the holder itself is not a thin plastic hook. A generated file does not rate the wall. If you cannot name the fastener and the structure it enters, hang a lighter tool.
Is plywood or a 3D print better?
Plywood or solid wood is the usual material for the wall strip and for holders that carry real tools. A print is reasonable for a light holder, a bit holder, or a template. Do not hang a dense metal tool on a single printed hook and call the wall the only question.
Does the cost estimate include the tools?
No. It is a rough estimate for cleat material and screws, or a small CNC batch. It is not a quote and it does not include the tools you are storing.