Fitness
Light-duty clips for a home cable setup
Make a light-duty storage peg or band adapter for a home cable machine. Keep rated hardware on the load path instead of printing a carabiner.
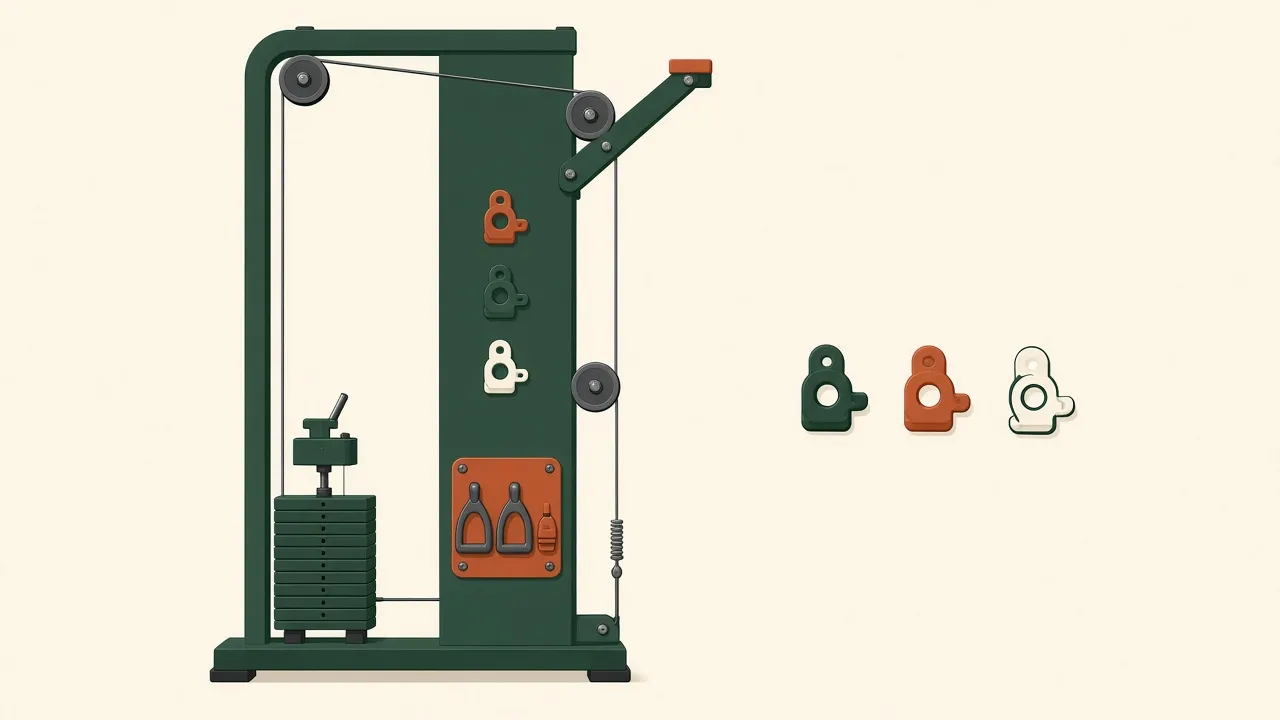
The search is usually “replacement cable machine clip,” often with “3D print” attached because the included clip is cheap and the listing for a new one is vague. Printing a stand-in for that clip is the version of this project that can dump a stack on you. The version that belongs on this site is smaller: a peg, a park position, or an adapter that holds a rated connector where your rack is an odd size.
If you want the general loop, it is the same one described in what vibe manufacturing is. The exception here is the load path. That part does not get a generated file.
The problem
Home pulley towers and band racks collect three different objects that people call a clip:
- The connector between the cable and the handle. That piece sees the load.
- A small gate or hook that came with the machine and cracked. Same issue. It was on the load path.
- A plastic keeper, peg, or sleeve that stops the real connector from sliding down an upright, or that gives a resistance band a post to sit on when you are storing it.
Only the third one is a good vibe-manufacturing job. You can measure an upright, a hole, or a band’s rubber end, and make a part that locates a commercial carabiner or a commercial band anchor. You cannot responsibly invent a load rating in a prompt. This site will not guess one.
A worn connector gets replaced with a purchased one. Look at the machine maker’s parts list first. If the style is a standard carabiner, buy one whose gate and spine were made for lifting, and read the marking. Do not “match the shape” in PLA because the shape is the easy part and the strength is the whole point.
Workflow
1. Measure
Decide, in writing, which sentence is true: “This part will never see the cable load,” or “This part is on the cable.” If you cannot say the first sentence and mean it, stop and buy the connector.
For a peg or a sleeve, record:
- Upright size, or the hole diameter, with calipers.
- How the rated carabiner should sit: around the sleeve, through a hole, or on a peg that only stores it.
- Clearance so the gate can still close. A sleeve that holds the gate open has failed.
- The band end, if you are parking bands, and whether the band is under tension while the part is in use. Tension means you are back on the load path. Parking means you are not.
One unit system. Photograph the calipers.
2. Prompt for a CAD file
Ask for the locator, and forbid the connector.
Model a storage sleeve for a 50 mm square rack upright.
The sleeve is 70 mm tall, split so it can open, with a hinge boss and
a separate M6 bolt ear. It must not be a carabiner.
Add a 12 mm diameter parking peg, 30 mm long, only for holding a band
when the band is slack.
Export STL for a prototype and STEP for a later metal version.
Units are millimeters. Do not add a load rating or a claim of strength.
Use your measurements. If you later want the sleeve in aluminum, the STEP file is what a CNC or sheet process needs. The STL is only the fit check.
3. Prototype
Print one sleeve in a cheap material and put it on the upright with no cable attached. Confirm the gate of a real carabiner still closes and that the sleeve does not pinch it. Hang a slack band on the parking peg. Do not load the stack “just to see” if you were making a storage part. That test is how a storage part becomes an accident.
4. Review
Look at layer lines on anything you might be tempted to load later. They are a reminder, not a texture. Check screw holes against the bolt in your hand. If you send a metal version to a shop, read that shop’s minimum wall thickness and do not ask them to engrave a load number you invented.
The same “measure the hardware you have” step is what makes a vintage receiver knob fit. There, a miss means a wobbly knob. Here, a miss on the wrong part means a falling stack. Keep those projects in different mental boxes.
5. Send it to a fabricator
A home printer or a print farm is enough for a storage sleeve that never sees the cable. If you want a metal locator, a CNC shop or a sheet shop can cut it. Xometry is one example of a marketplace for that kind of machining. They are not rating your design by accepting the file.
Buy the load-path connector from a seller of lifting hardware. Keep the receipt and the marking. The generated file does not replace either.
Tools and services
- Calipers and the upright, hole, or band end.
- A CAD tool or a text-to-CAD draft that exports STL and STEP.
- A printer you can watch, or a print farm, for the fit check.
- A metal shop only if the locator itself should be metal. Still not a carabiner.
- A purchased, marked connector for anything the cable actually pulls on.
Cost and time
Estimate, not a quote. Filament for one sleeve is often a few dollars if you already print. A farm’s price for a single small part is dominated by setup and shipping, so a handful of dollars to a few tens of dollars is a planning range, not a listing. A machined aluminum sleeve costs more because of setup. A rated carabiner is a separate line on the receipt. Get those prices from the sellers.
Estimate, not a schedule. Measuring and a first print can be an evening. A metal version takes as long as that shop’s queue. Neither timeline includes testing a homemade clip under load, because that test is the thing this article is telling you not to do.
Pitfalls
- Printing a carabiner, a cable gate, or a snap hook because the original broke.
- Putting a pretty sleeve in the load path and calling it an adapter.
- A parking peg that the band stays under tension on. That is a loaded part.
- Trusting a number a chatbot offered as a “safe working load.” There is no test behind that sentence.
- PLA left in a hot garage, then used for anything structural. Heat and layer lines are a bad combination even for a peg you only meant for storage.
- Copying a branded clip’s shape. Fit your hardware. Do not clone a product.
- Forgetting that a french cleat holder on the wall is a better home for loose handles than a clip that almost works.
FAQ
Can I 3D print a carabiner for a cable stack?
No. Do not print, cast, or generate a clip that sits on the load path of a cable stack, a barbell, or a person. Use a commercial connector with a working-load marking you understand, and buy a replacement if the original is worn.
What is actually worth making?
A storage peg, a holder that keeps a rated carabiner from wandering on an upright, or a sleeve that adapts a band peg to a hole you already have. The printed part locates hardware. It does not become the hardware.
What if the original clip snapped?
Replace it with the machine maker's part or with a rated connector of the same style. A snap is evidence about load, wear, or a gate that was never meant for that stack. It is not a modeling prompt.
Are the cost figures a price for a safe clip?
No. The range is a planning estimate for a light-duty printed accessory or a small metal adapter. It is not a rating, a test result, or a quote.