Repair
A knob for a vintage receiver shaft
Measure a vintage receiver shaft and print a knob that matches the flat, the diameter, and the set screw. Not for a stove or heater.
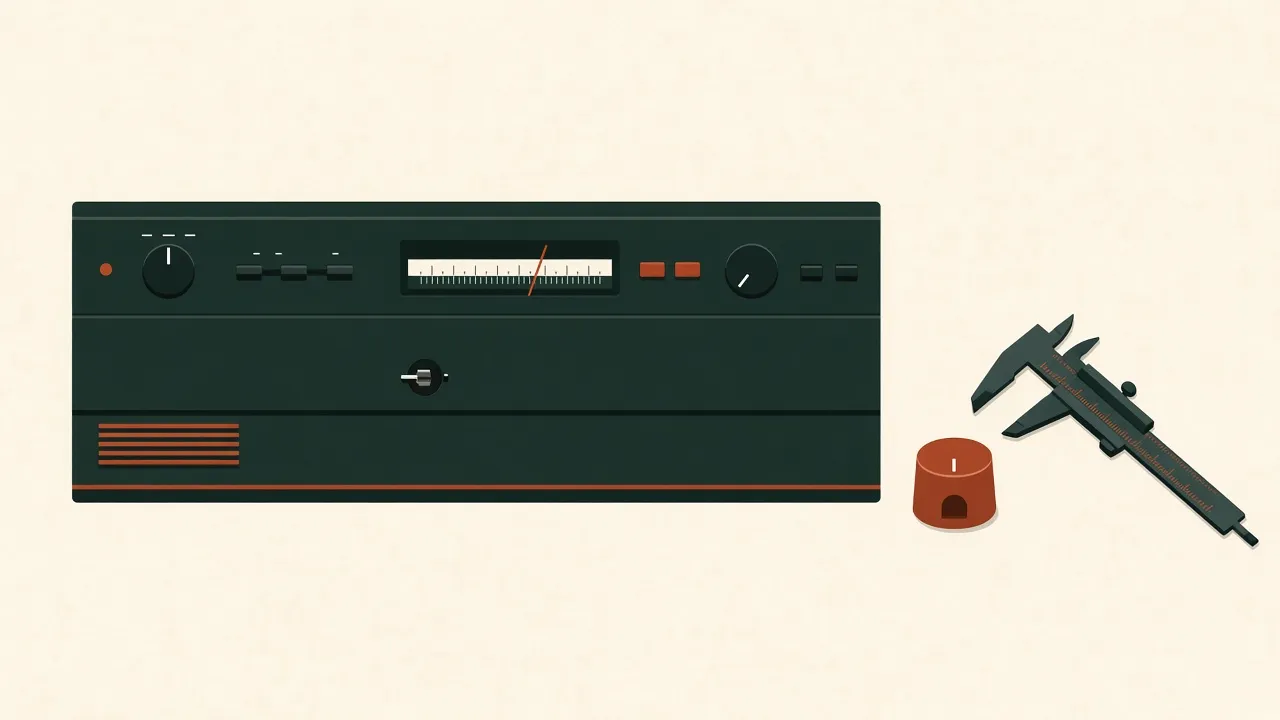
The receiver works. The knob is in a drawer, or it was never there when you bought it. The shaft is a small piece of metal with a flat or a spline, and the listing photos of “universal knobs” do not show that flat clearly. Printing one is a measurement job more than a design job.
It follows the vibe manufacturing loop at the scale of a fingertip. The same measurement habit shows up when you replace a dishwasher tine clip: the surviving hardware is the drawing.
The problem
Front-panel knobs on old receivers and amplifiers turn a potentiometer or a switch. The shaft behind the panel is what the knob has to match. Common situations:
- One knob of a set cracked, and the others are intact. The intact one is your reference for skirt diameter and pointer angle.
- The shaft is a D: round with one flat. The set screw bears on the flat.
- The shaft is splined, and a smooth printed bore will never hold. You need the spline pattern, which is a harder measurement, or you need a donor knob.
- The shaft is plain round. A set screw on a round shaft slips. Look for a flat you missed before you design a fantasy collet.
This article is for that front-panel shaft. It is not for a stove, a space heater, a gas valve, or a knob that is warm in normal use. Heat changes the plastic, and some of those knobs are doing a safety job. Buy the right control knob, or leave the appliance alone.
You are also not repairing the potentiometer. If the shaft wobbles because the bushing is loose, a new knob will wobble too.
Workflow
1. Measure
Power the receiver off and unplug it before your hands are in the panel. You are measuring metal, not adjusting a live chassis.
- Shaft diameter, with calipers, on the bare shaft.
- The flat: its depth and where it starts. A D-shaft’s round diameter and the distance across the flat are both required.
- How much shaft sticks out past the panel and the nut.
- The set screw you will use: thread, and the length that must not crash into the flat too early.
- Skirt diameter and depth of a surviving knob, if you want the set to match. Include the pointer position relative to the flat, or the new knob will point at the wrong end of the dial when the shaft is at its stop.
Write millimeters. Photograph the calipers. If there is no flat and no spline, stop and look again. A smooth bore and a wish are how knobs fall into the vents.
2. Prompt for a CAD file
Describe the bore and the set screw. Ask for one knob, not a family of twelve styles.
Model a single knob for a 6 mm shaft with a flat.
Distance across the flat is 4.5 mm. Bore depth 12 mm.
The skirt is 22 mm in diameter and 10 mm deep.
Add a horizontal hole for an M3 set screw, centered on the flat,
14 mm from the front face. Use a hex recess or a round hole I can
tap with a metal insert. No splines. Units are millimeters.
Export STL and STEP.
Replace the numbers. If your shaft is splined, do not round it off in the prompt and hope friction saves you. Find a donor or stop.
3. Prototype
Print one. Not the set. Press it onto the shaft with the receiver still unplugged. The flat should seat without a hammer. The skirt should clear the panel and the neighboring knob. Turn it through the range and watch the pointer against the silk screen. If it points backward, the set-screw clocking is wrong. Fix the model. Do not twist the potentiometer stop to match a bad knob.
Then print the rest, in the same orientation on the printer. A set printed in mixed orientations will not match, even from the same file.
4. Review
Check units in the slicer. A knob ten times too large is the inch/millimeter bug. Check the set-screw hole against the screw in your hand. Plastic threads strip. A heat-set insert or a small metal nut trapped in the model is more honest than three extra walls of PLA around an M3 thread. If you move to a higher-temperature filament because the receiver’s vents are warm, read that datasheet. “Warm air near a vent” is not “a stove knob,” but it is a reason to avoid the cheapest PLA if the chassis actually runs hot. If you cannot tell, leave a finger near the old knob location after a normal listening session, with the unit unplugged before you install anything.
A printed knob will not fix scratchy audio. That is the potentiometer. Clean or replace the control, or accept the scratch. The knob is cosmetic and mechanical.
5. Send it to a fabricator
A home printer is appropriate. A print farm is appropriate if you send the STL and the color. Specify the material by name. Do not ask the farm to “match the original bakelite.” They can match a size. They cannot match 1974.
If you want a metal knob, a small machine shop can cut one from the STEP file. Protolabs and Xometry are examples of shops that machine short runs. A single metal knob may cost more than a used original. Check the used market before you mill one. This article is not embarrassed if the right answer is a $12 donor unit from a parts radio.
Tools and services
- Calipers, the shaft, and one surviving knob if you have it.
- The receiver unplugged.
- A CAD draft that exports STL.
- A printer or a print farm.
- A metal insert and the set screw, purchased, not imagined.
Cost and time
Estimate, not a quote. Printing one knob or a small set is often a few dollars of filament, or a farm price in the range of about $5–$30 before shipping. A machined metal knob is a different and usually larger number. An intact original knob can beat both. The range is a planning estimate, not a listing and not a quote.
Estimate, not a schedule. Measuring a shaft you can see is an hour, including the unplug-and-photograph part. The first print is an evening. Budget a second print for the flat. Do not promise a restored faceplate by the weekend if you have not had the shaft in calipers yet.
Pitfalls
- A round bore on a shaft that needed a flat or a spline.
- Printing the whole set before one knob has been on the shaft.
- Plastic threads with no insert, and a set screw that strips on day two.
- Using this file on a stove, dryer, or heater knob. Different temperatures, and sometimes a safety function. See the boundary again: front-panel audio only.
- Measuring in inches and exporting millimeters.
- Clocking the pointer to the round part of the shaft instead of the flat, so the dial reads backward.
- Opening a live chassis to “see the pot.” Unplug it. The knob does not require you to touch the circuitry.
- Copying a branded knob’s logo into the STL. Match the diameter. Leave the trademark off.
FAQ
Will one knob fit every vintage receiver?
No. Shafts are round, D-shaped, or splined, and the diameters differ. Measure the shaft on your receiver. A knob drawn for a 6 mm D-shaft will spin on a splined one.
Can I use the same approach for a stove or a heater knob?
Not from this article. Those knobs see heat, and some of them are part of a gas or safety control. This note is a radio or amplifier shaft on the front panel, not an appliance that gets hot.
What holds the knob on?
Usually a set screw against a flat, or a friction fit you should not trust. Use a metal threaded insert or a heat-set insert if the plastic threads will strip. Bring the screw to the measurement, and design the hole for that screw.
Is the cost an OEM knob price?
No. It is a rough estimate for printing. An original knob, if you can find the right one, may be the better buy. The range is not a quote and not a claim about sound.