Workshop
Windchime: a free text-to-3D-printable CAD tool, explained
Windchime turns text, photos, and measurements into 3D printable CAD models. What it does, how it works, how to use it well, and its limits.
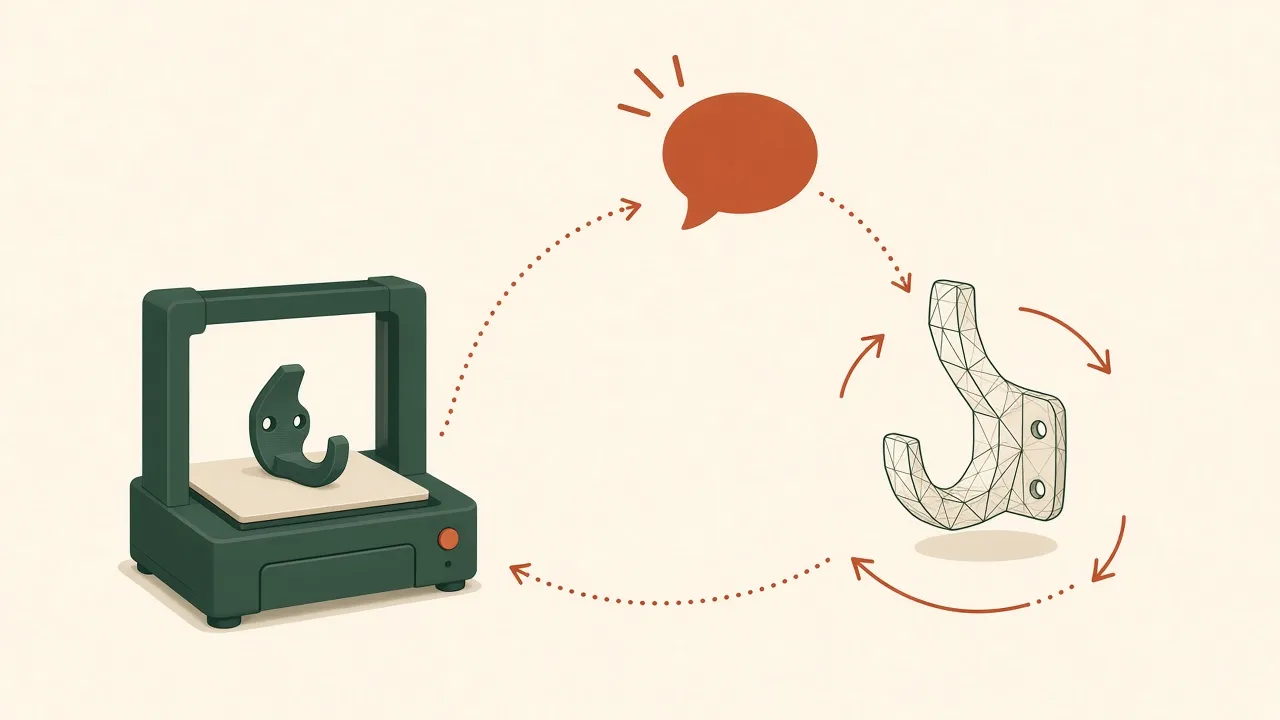
Source: Zach Shakked (@zachshakked) on X, November 3, 2026, and windchime.app. This is an independent summary; Windchime and its creator have not reviewed or endorsed it.
Text-to-CAD has been the missing piece of vibe manufacturing for hobbyists. Image-to-mesh tools make nice figurines, but a bracket that has to fit a 32 mm pipe needs real dimensions. Windchime, launched on X by Zach Shakked, aims at both. He describes it as “a free vibe coder for 3D Printable CAD models.”
What Windchime does
From the launch post, the workflow is:
- You give Windchime text and get back a 3D printable model.
- You can iterate, give feedback, send reference photos, and share measurements.
- The model can then be sliced and printed.
Shakked says it handles two kinds of output: mesh models such as figurines and characters, and more utilitarian parts such as coat racks and dovetails. His post includes example designs; we are not reproducing those images here, so see the original post for them.
How it was made
The background is in the post. Shakked writes that he has been into 3D printing since getting his first printer in 2020 and learned CAD a few years ago. About a year ago he tried vibe coding CAD models and couldn’t get it right. He says that with Opus 5.5 he was finally able to build something “both cost-efficient and sufficiently accurate.”
Under the hood, per the post:
- A custom harness drives a variety of models from OpenAI, Anthropic, and Google.
- The models write CAD code, which is rendered on a server.
- The model looks at its own render and critiques it, looping until it gets a satisfying result.
That self-review loop is the interesting design choice. Most failed AI CAD attempts look right in code and wrong in the render: a hole on the wrong face, a fillet that eats a wall. Making the model look at what it built is the same thing a human does in a CAD viewer before exporting.
What the post does not say: which CAD language is used, which export formats are offered (STL, 3MF, STEP), whether files can be edited parametrically afterwards, how accurate dimensions are, or what limits apply to the free tier. Check the site before you plan a project around any of those.
How to get a good part out of a text-to-CAD tool
These tips apply to Windchime and to similar tools. They come from our own use cases, not from Windchime’s documentation.
1. Measure the real object
Write every dimension that matters in millimeters: the pipe diameter, the screw size, the wall it mounts to. “A hook for my coat rack” gives you a hook. “A hook that clips onto a 25 mm round rail, holds a 4 kg bag, 5 mm thick” gives you a part.
2. Name the fit, not just the size
Say what has to slide, press, or clear. Add clearance for printed fits; a few tenths of a millimeter is typical for FDM, but your printer decides. The dishwasher tine clip article covers press-fit tuning.
3. Add a reference photo for shape, numbers for size
Photos help with style and orientation. They do not give scale. Pair each photo with measurements.
4. Print a test slice first
Before printing a three-hour part, print the section that has to fit: the clip, the hole, the dovetail. Feed the measured error back as feedback: “the slot is 0.4 mm too tight.”
5. Check the mesh before slicing
Open the export in your slicer. Look for thin walls, floating pieces, and overhangs that need support. A model that looked fine in a render can still print badly.
Good first projects
- Organizers and holders sized to odd objects, like the French cleat holders for odd tools.
- Replacement clips and small repair parts.
- Simple knobs, if you can measure the shaft accurately; see the vintage receiver knob.
- Decorative pieces and figurines, where exact fit matters less.
Avoid anything load-bearing for people, anything for vehicles’ safety systems, or anything near heat or mains power. A generated model is a draft.
Limitations
- Windchime is new, and we have not tested it. Accuracy claims come from its creator.
- “Free” is the launch terms. Free tools often add limits or pricing later.
- AI-generated geometry can look correct and still be off by a millimeter. Test-fit before you print in quantity.
- If you design a part that copies someone else’s product, design rights and trademarks still apply. Design your own part for your own object.
Tools
- Windchime for generating the model.
- Calipers for measurements.
- A slicer such as Bambu Studio, PrusaSlicer, or OrcaSlicer.
- A 3D printer, or a print service if you don’t own one.
Related use cases
FAQ
What is Windchime?
Windchime is a free tool by Zach Shakked that he describes as a vibe coder for 3D printable CAD models. You describe a part in text, optionally add reference photos and measurements, and get back a model you can slice and print.
How does Windchime work?
According to its creator, it uses a custom harness and a mix of models from OpenAI, Anthropic, and Google. CAD code is written and rendered on a server, and the model views and critiques its own render in a loop until it reaches a satisfying result.
Is Windchime free?
Its creator describes it as free at launch. Check windchime.app for current terms, since pricing for new tools can change.
What kinds of parts can it make?
The launch post mentions mesh models such as figurines and characters, and utilitarian parts such as coat racks and dovetails. We have not tested its accuracy ourselves.
Is this article sponsored by Windchime?
No. This is an independent write-up based on the creator's public post. Windchime has not reviewed or endorsed it.