Home
Two AI-designed scoops: kibble scoop and tablet spoon
Todd Dailey had Claude Opus 5.5 design a multicolor cat kibble scoop. Yaotti measured tablets with calipers and had Claude Code make a tablet spoon.
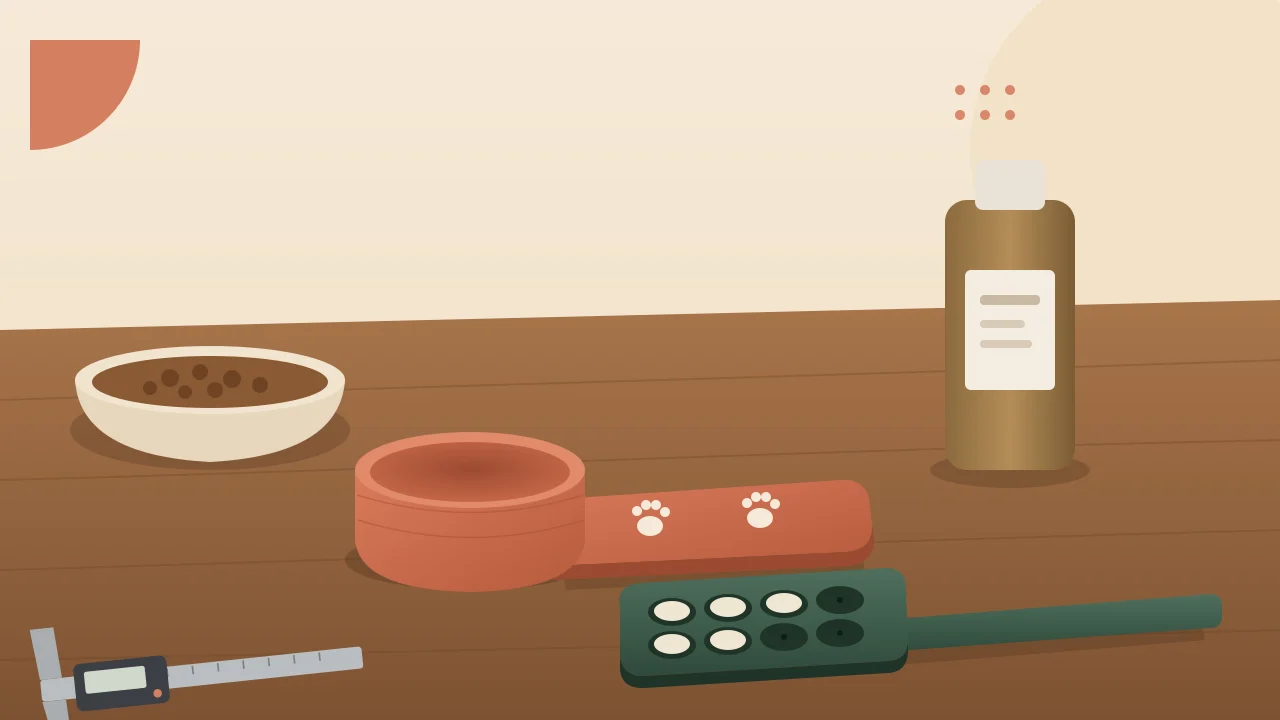
Sources: Todd Dailey (@twid) on X and Yaotti (@yaotti) on X, both posted on 10 November 2026 (UTC). Yaotti’s post is in Japanese; the summary below is our translation. This is an independent summary. Neither maker, nor Anthropic or Bambu Lab, has reviewed or endorsed it. We don’t reproduce their photos; see the original posts for them. The illustration above is our own.
Two small posts from the same day show vibe manufacturing at its most everyday. Neither project is a product or a robot. Both are scoops for things that sit on a kitchen counter. They show two ways to brief an AI: one maker gave it pictures, the other gave it numbers.
A multicolor cat kibble scoop from one prompt
Todd Dailey asked Claude Opus 5.5 for a cat kibble scoop with his cats on the handle. With the prompt he attached two things: a sticker of the two cats that he had already made, and a photo of the filament colors loaded in his printer. His prompt, shown in a screenshot, starts: “make a 1/4 cup cat kibble scoop and put the design for salem and miso on the handle, doesn’t have to be high resolution”. It also tells Claude that the printer is “a bambu h2d with 2 ams pro’s”.
He says it “came back with a finished multicolor design, no edits needed”, and that he uploaded the design and printed it. His photo shows a blue round scoop on the build plate, with the two cats in color on a flat handle.
What makes this work is the context he gave:
- A volume, not just a shape. A 1/4 US cup is about 59 ml, so the model has a target size for the bowl.
- The artwork as an image. The sticker already had simple shapes and clear color areas, which is far easier to turn into a few flat color regions than a photo of a cat.
- The loaded colors. A photo of the spools tells the AI which colors exist, so it doesn’t design in a color the printer can’t print.
- Low resolution was fine. “Doesn’t have to be high resolution” gives the AI permission to simplify the art.
He doesn’t say which file format Claude produced, which software he sliced it in, how long it took or how much filament it used.
A tablet spoon from caliper measurements
Yaotti, a Japanese founder, made a spoon for Strong Wakamoto (強力わかもと), a tablet supplement sold in Japan in a bottle. In our translation, he says he 3D-printed it to fix a small everyday annoyance, and that it scoops the tablets up easily. He credits Claude Code: he measured the sizes with calipers, told Claude Code, and it made the model all the way to an STL.
In a reply to someone who wanted one for another tablet, he lists what to measure: the tablet’s diameter and thickness, and the diameter of the bottle’s mouth. His photos show a black printed spoon with nine round pockets in two rows, one tablet in each, on a long flat handle. There is a small hole in the bottom of each pocket.
That brief is a good example of measuring what matters:
- Tablet diameter sets the pocket size.
- Tablet thickness sets the pocket depth, so each pocket holds one tablet, not two.
- Bottle mouth diameter sets the widest the spoon head can be and still go in.
He doesn’t say which printer or filament he used, or how long it took.
How to brief an AI for your own scoop
These steps are our general advice, drawn from the two posts. They are not either maker’s exact prompts or files.
1. Measure the thing it has to hold or fit
For a portion scoop, decide the volume in millilitres. For a tablet or capsule spoon, measure the tablet and the container opening with calipers, in millimeters.
2. Describe it with numbers and constraints
Design a 3D-printable tablet spoon for OpenSCAD.
Tablet: 8.0 mm diameter, 4.0 mm thick (measured).
Bottle opening: 30 mm inside diameter.
Make one row of round pockets, each 1 mm wider than the tablet
and about as deep as one tablet, with a 2 mm drain hole.
Head must fit through the opening with 3 mm to spare.
Handle 120 mm long, 3 mm thick, rounded edges, flat bottom for
printing without supports. Export STL.
The numbers above are examples, not Yaotti’s measurements. Use your own.
3. For a multicolor print, give it images and your colors
Attach simple artwork with flat color areas, and list or photograph the filaments you have loaded. Ask for the colors as separate flat regions on the top surface, which is easier to slice and print than color spread through the whole height. If you have no color changer, the same artwork can be done as a two-plate print or a filament swap; see multi-color 3D printing: two plates vs AMS vs a tool changer.
4. Print one test piece first
For the tablet spoon, a short version with two pockets tells you whether the fit is right in a fraction of the time. For a scoop, check the volume by filling it with water and pouring it into a measuring jug. More on this in vibe manufacturing tips for a first print that fits.
5. Report back in numbers
“The tablet sits 1 mm proud” or “the scoop holds 50 ml, not 59” gives the AI something to fix. “It’s a bit off” doesn’t.
Cost and time
Estimates, not quotes. Neither maker gave costs or print times. A scoop or a spoon of this size usually takes roughly 10 to 30 g of filament, which is well under €1 at typical PLA prices. A multicolor print on an automatic material system purges filament at each color change, and on a small part that waste can be larger than the part itself. Printing usually takes from about half an hour to a couple of hours; color changes add time.
Food contact and safety
- Food contact isn’t automatic. Layer lines can trap residue and bacteria, and not every filament, color or nozzle is suitable for food. Check your filament maker’s food-contact statement. Dry food like kibble is a much easier case than wet food.
- Clean it properly. Wash and dry it well, and check whether your filament can handle a dishwasher before you put it in one.
- Don’t let a spoon set a dose. For supplements or medicines, the label is what counts. A printed spoon is a convenience, not a measuring device, and it should be kept away from children along with the bottle.
Neither maker discussed food safety in their posts. These points are ours.
Tools and materials
- Claude Opus 5.5 (Todd Dailey) and Claude Code (Yaotti), as each maker named them.
- A Bambu H2D with two AMS Pro units for the kibble scoop, as stated in Todd Dailey’s prompt. Yaotti did not name a printer.
- Digital calipers for measuring.
Related use cases
FAQ
Which AI did they use?
Todd Dailey says he used Claude Opus 5.5 for the kibble scoop. Yaotti says he used Claude Code for the tablet spoon. Neither shared the prompt history in full or published the model files.
How did Claude know which colors to use?
Todd Dailey gave it a sticker of his two cats that he had made earlier and a photo of the filament spools loaded in his printer. His prompt says the printer is a Bambu H2D with two AMS Pro units. He says the multicolor design needed no edits.
What did Yaotti measure?
In a reply he lists the tablet's diameter and thickness and the diameter of the bottle's mouth, measured with calipers. He says that is all Claude Code needed to produce the STL.
Is a 3D-printed scoop food-safe?
Not automatically. Layer lines can trap residue, and not every filament or nozzle is suitable for food contact. Check your filament maker's food-contact statement, keep it to dry food, and wash and dry it well. Neither maker discussed food safety in their posts.
Can I use a printed tablet spoon to measure a dose?
Only as a convenience, after checking it against the label every time. The label's dose is what counts. Keep supplements and medicines, and the spoon, away from children.
Is this article endorsed by the makers, Anthropic or Bambu Lab?
No. This is an independent write-up of public posts. Todd Dailey, Yaotti, Anthropic and Bambu Lab have not reviewed, paid for or endorsed it.