Workshop
Vibe manufacturing tips: how to get a first-print fit
A checklist for an AI-made part that fits on the first serious print: millimetres, variables, slicer checks, a test section, and where to stop.
Sources: this site’s step-by-step how-to and the public examples it already cites. This page is a checklist, not a second walkthrough, and not a hands-on test. Nobody named here has reviewed or endorsed it.
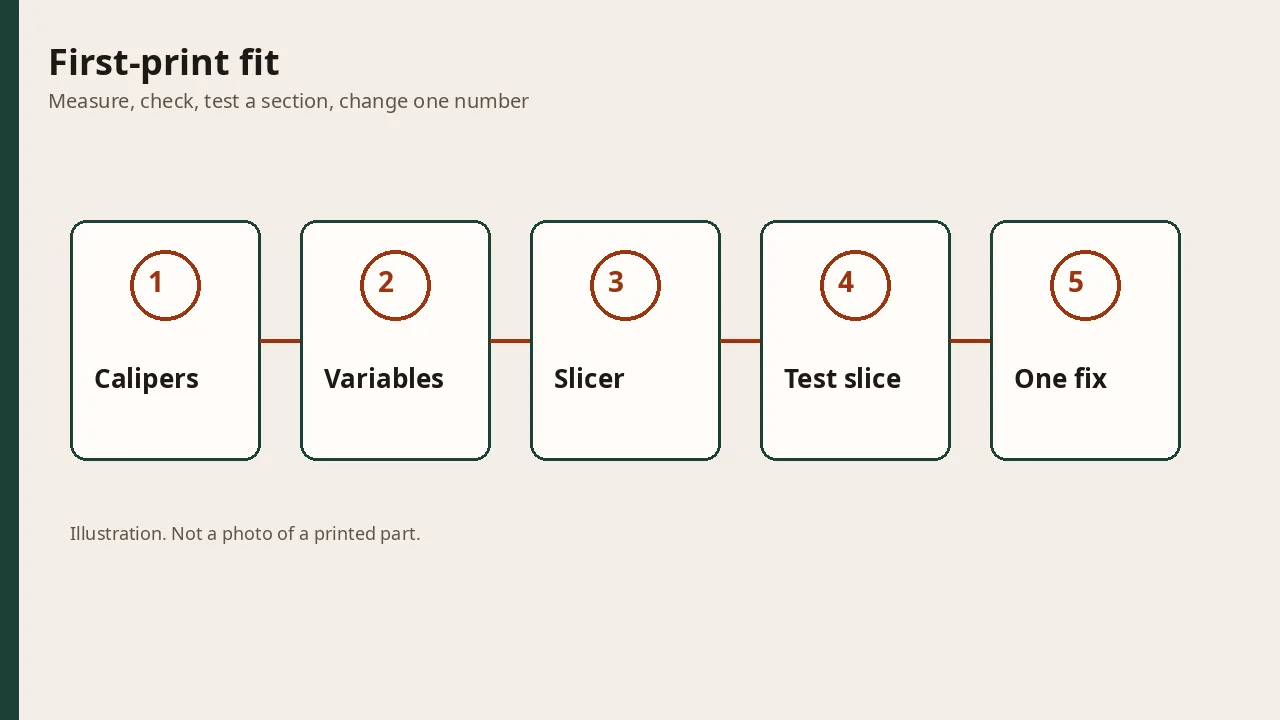
The how-to already covers measure, prompt, code, slicer, and a test piece in order. These tips are the habits that make that loop land a fit. Use them beside the 3D printing topic hub and the software hub.
Measure before you type
Calipers first, millimetres only. Write the opening, the shaft, the screw, and the gap you want. Photos help a model see a shape, but they do not set the scale. Matt Green’s classic Mini adapter is the pattern: three photos plus caliper numbers, then a prompt.
Put every size in the prompt as a variable
Name each dimension and ask for a variable at the top of the code. Then a later fix is one number, not a rewrite. If the chat answers in inches while you measured in millimetres, stop and say so. Mix-ups of that kind are a common failure, which is why the how-to calls them out before you print.
Check the file, then a small piece
Open the STL or 3MF in the slicer and measure the critical dimension there. Look at the layer preview for thin walls and overhangs with nothing under them. Orient the part so layer lines are not asked to carry a load in pure tension.
Print a small section of the fit: the hole, the clip, the slot. If it is wrong, paste the measured error back and change one thing. The how-to uses an instructional example, not a measurement we took: an 8 mm hole that printed at 7.6 mm, then a prompt that adds clearance. Treat that as a way to talk to the model, then measure your own print.
A slip-fit gap of about 0.2–0.4 mm is the estimate already used on the how-to for many FDM printers. Label it as an estimate. Your nozzle, filament, and shrinkage decide the real number.
What the model is good at
Prismatic parts with sizes you can write down work best: brackets, clips, spacers, knobs, simple enclosures. Figurines and soft organic shapes belong with mesh tools, not with a first OpenSCAD script. The text-to-CAD comparison is the place to pick a tool. What vibe manufacturing is is the wider loop.
Colour without a filament swap
A two-colour desk figure does not always need a multi-material printer. The desk Grok Bot write-up describes two plates, black body halves and white pill eyes, with no colour change mid-print. Integrated colour is a different job. The two plates, AMS, and tool-changer comparison separates those paths.
Licences, then remix
If you start from someone else’s file, read the licence before the prompt. Editing Thingiverse models with AI covers what you may share or sell. A remix that skips that step can be a legal problem even when the geometry fits.
A one-page checklist
Use this beside the how-to, not instead of it.
- Measure with calipers. Write millimetres only.
- Put every dimension in the prompt. Ask for a named variable for each one.
- Watch for an inch and millimetre mix-up before you export.
- Open the STL in the slicer and measure the critical size there.
- Scroll the layer preview for thin walls and unsupported overhangs.
- Orient the part so layer lines are not loaded in pure tension.
- Print a small section of the fit, not the whole part.
- Paste the measured error back. Change one variable.
- For a slip fit, start from the how-to’s estimate of 0.2–0.4 mm, then test it on your printer.
- Keep figurines on mesh tools. Keep person-rated, overhead, mains, and fuel parts off this loop.
Photos plus calipers, as in the classic Mini adapter, beat photos alone. A two-plate colour split, as in the desk Grok Bot, is not the same job as a tool changer. Read the licence before a remix, as in the Thingiverse editing guide.
Where a printed part should stop
Do not use an AI print for a part that holds a person, a heavy overhead load, mains electricity, or fuel. Buy hardware that was made and rated for that job. If the first full print still fails, the failure guide is the symptom list. For money, see what a part costs. Printers, if you want one on the bench, are on the printer page.
FAQ
How do I get an AI 3D print to fit the first time?
Measure in millimetres, put every size in the prompt as a variable, check the STL in the slicer, then print only the critical fit before the full part. Change one measured error at a time.
What clearance should I use for a slip fit?
A starting estimate used on this site is 0.2 to 0.4 mm for a slip fit on many FDM printers. It is an estimate. Print a test section on your printer and filament before you lock the number.
Why do AI models come out the wrong size?
Inch and millimetre mix-ups are a common cause. Open the STL in the slicer and measure a known dimension before you start a long print.
Can I remix a downloaded model with AI?
Only after you read the licence. Some terms ban commercial use or require the same licence on your remix. Our Thingiverse editing guide walks through that check.
Which parts should I not print from an AI file?
Do not use an AI print for a part that holds a person, a heavy overhead load, mains electricity, or fuel. Buy rated hardware for those jobs.