Workshop
Why AI-generated 3D prints fail (and how to fix them)
A symptom, cause, and fix table for AI-made prints: units, thin walls, orientation, test sections, mesh tools, and remix licences.
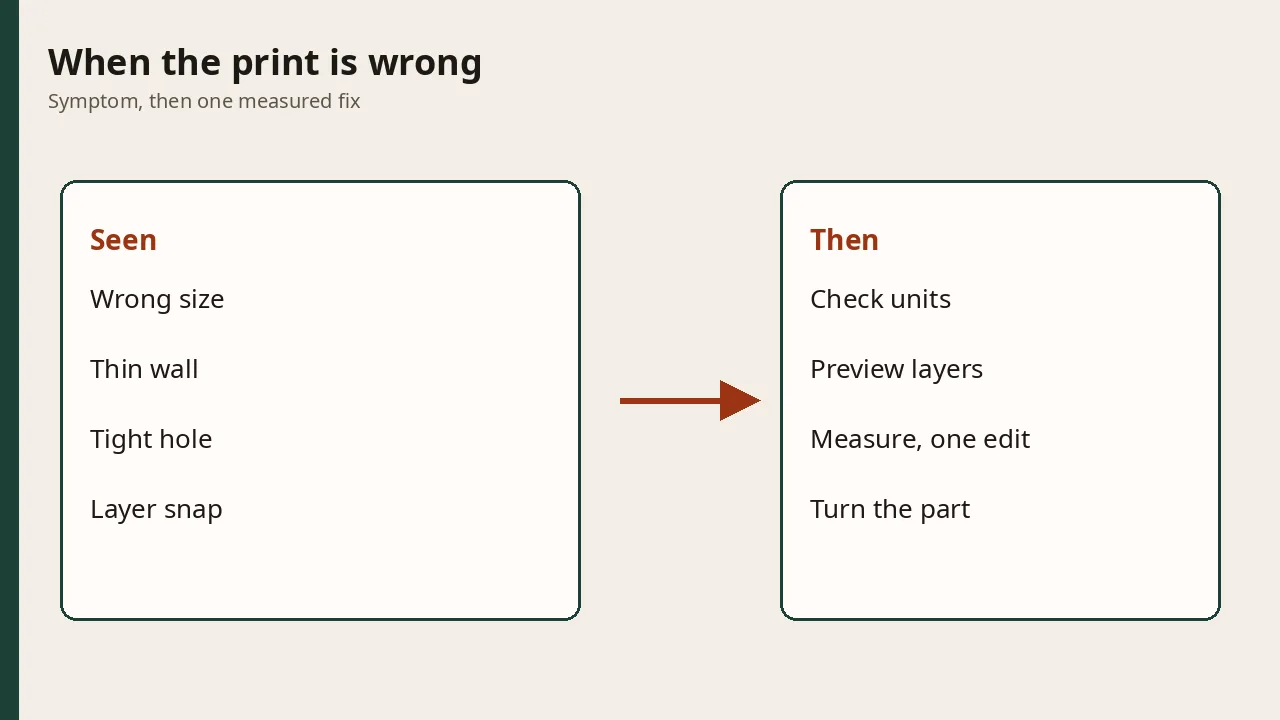
Sources: the same public pages and reporting already used on our how-to, including the Kimi 3D Make FAQ and Business Insider. This is a diagnostic list, not a lab report and not a hands-on test. Nobody named here has reviewed or endorsed it.
The how-to is the sequence. This page is what to look at when the print is wrong. More context sits on the 3D printing hub and the software hub.
Symptom, cause, fix
| What you see | Likely cause | What to do |
|---|---|---|
| The part is about 25 times too big or too small | Inches in the prompt, millimetres in the slicer, or the reverse | Measure one known edge in the slicer. Tell the chat the unit and the number you measured. |
| It looks right on screen and fails in your hand | A preview is not a strength or fit test | Kimi’s FAQ says a preview cannot guarantee structural strength, assembly accuracy, or a successful print. Measure, then print a section. |
| Walls vanish or spaghetti appears in mid-air | Thin walls or overhangs with no support, visible in the layer preview | Thicken the wall in the model or turn on supports. Do not start a long print on a preview you have not scrolled. |
| It snaps between layers | The load runs across the layer bonds | Reorient so the load follows the layers when the shape allows it. |
| You reprinted the whole enclosure many times | The first print was the full part | Business Insider reported David Plakon printing a case about fifteen times. Print the critical section first. The tips checklist is that habit. |
| A hole is tight | Plastic often prints holes small | The how-to’s instructional line is an 8 mm hole that printed at 7.6 mm, then a prompt to add clearance. That is an example of wording, not a measurement from our shop. Measure yours and change one variable. |
| A curved, organic shape from code looks lumpy | Code CAD is a poor figurine tool | Use a mesh tool for organic shapes. Keep code for prismatic, dimensioned parts. See text-to-CAD tools. |
| The mesh looks fine and nothing assembles | A mesh generator when the part had to fit a shaft or a hole | Go back to dimensions and a parametric file. Windchime is one place that tries both, and it still needs a test fit. |
| A remix is taken down or you cannot sell it | The licence was not read | Editing models with AI is the licence check. |
How to send the error back
Use a sentence the model can apply to one variable. The how-to’s instructional example is the shape of it: “the 8 mm hole printed at 7.6 mm, add 0.3 mm clearance.” Swap in the dimension you measured. Do not add a second complaint in the same message.
If the layer preview already shows a floating bridge or a wall thinner than your nozzle can hold, fix that in the file before you spend a full plate. Business Insider’s account of an enclosure printed about fifteen times is what happens when the full object is the first test.
Orientation belongs in the same pass. If the clip will be pulled apart across the layers, turn it in the slicer, or ask the model for a note that says which face sits on the bed. The tips page lists that check with the others.
A mesh that looks smooth and still will not seat on a shaft is the wrong tool, not a bad printer. Prismatic parts stay with code or a parametric file. Figurines can stay with a mesh tool. The text-to-CAD comparison is the split.
One change at a time
Paste the measured error, not “it doesn’t fit.” Change a single variable. If you change clearance, wall thickness, and orientation together, you will not know which edit fixed it.
A starting slip-fit gap of 0.2–0.4 mm is the estimate on the how-to. It is not a universal constant. Test it on your printer.
What this page will not claim
There is no original strength test here, no filament price, and no promise that a second prompt will succeed. What a part costs stays with reported bills. What vibe manufacturing is is the wider idea. If the process itself is wrong, the print, laser, or PCB chooser comes before another reprint.
FAQ
Why is my AI 3D print the wrong size?
A common cause is mixing inches and millimetres. Measure a known edge in the slicer before you print the whole part, and tell the chat which unit you used.
Does a nice preview mean the part will fit?
No. Kimi's 3D Make FAQ says a preview cannot guarantee strength, assembly accuracy, or a successful print. Check dimensions and print a test section.
Why did the hole come out too small?
Printed holes often shrink. The how-to on this site uses an instructional example, an 8 mm hole printing at 7.6 mm, as the kind of sentence to paste back into chat. Measure your hole and change one number.
Why did the part snap along the layers?
Layer lines are weaker in tension across the bond. Turn the part so the load runs along the layers, not straight through the bonds, when the slicer lets you.
Can I fix a downloaded model with AI?
Sometimes, if the licence allows it. Read the terms before you remix. Our Thingiverse guide is the checklist.