Workshop
How to start vibe manufacturing: a first-part guide
A step-by-step first project: pick a safe part, measure it, draft a file with AI, check it, then print, cut, or order it.
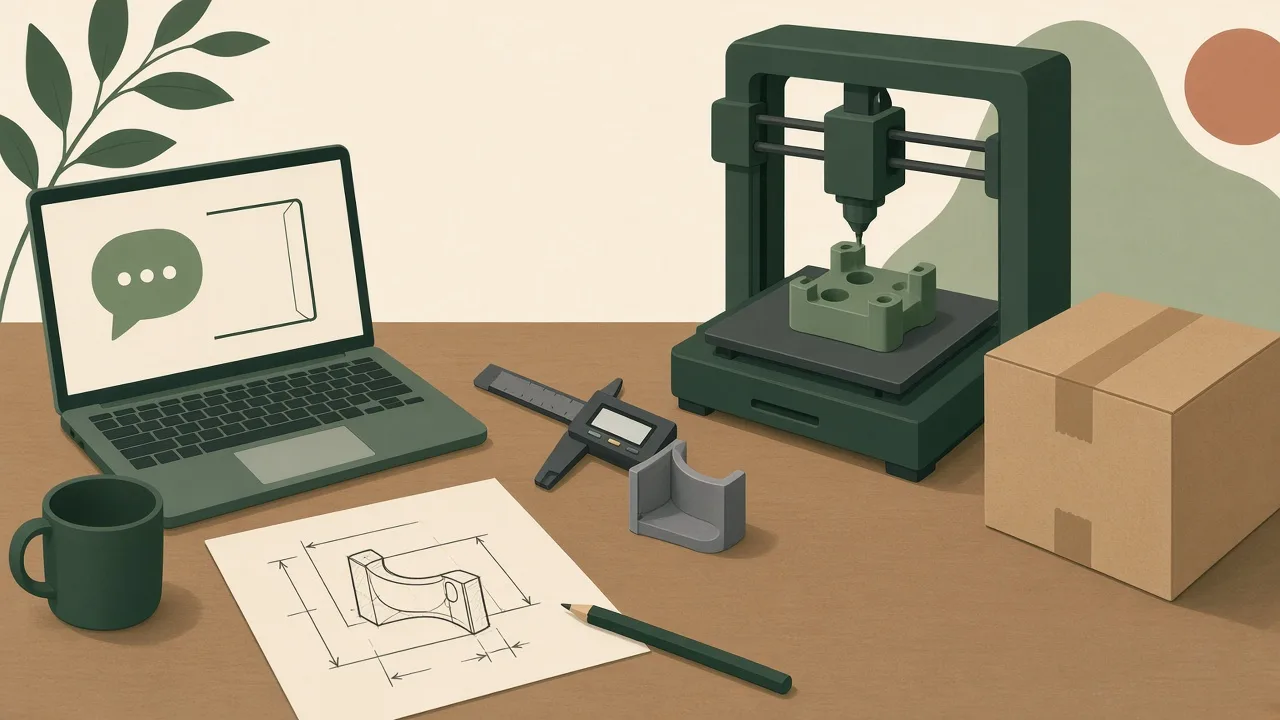
Sources: the manufacturer and service pages linked inline, plus this site’s existing guides. Prices are labeled as someone’s published figure or as an estimate. Nobody named here has reviewed or endorsed this guide.
This is the step-by-step for a first part, from “I need a part” to a part in your hand. For the definition of the idea, read what vibe manufacturing is. This page walks one safe first project and sends you to the deeper note for each step. When you are ready to make one print, use how to make a 3D-printable part with AI. For the habits that make that print fit, use first-print fit tips for AI-designed parts. When you want the technical detail on materials, lasers, tolerances and file formats, move on to the advanced guide.
What vibe manufacturing is, in one minute
You describe a physical part, an AI tool drafts the CAD file (or the circuit board), you check the draft against reality, and a machine makes it. That machine can be a 3D printer on your desk, a laser cutter at a makerspace, or a shop that posts the part to you. The full idea is on what vibe manufacturing is.
Two things don’t change just because an AI drew the file: the part has to fit the real object, and you’re responsible for where it gets used.
The basic loop
Every project on this site follows the same five steps.
| Step | What you do | Typical tools | Go deeper |
|---|---|---|---|
| 1. Pick | Choose a small part that can’t hurt anyone if it breaks | Your judgment | Where printed parts should stop |
| 2. Measure | Write down every size in millimeters | Digital calipers, a ruler, a photo | First-print fit tips |
| 3. Model | Ask an AI for an editable model | Chatbot + OpenSCAD, a text-to-CAD app, or AI inside CAD | best text-to-CAD tools |
| 4. Check | Measure the file, slice it, print a small test | A slicer such as Bambu Studio, PrusaSlicer or OrcaSlicer | Why AI prints fail |
| 5. Make | Print it, cut it, or order it | Home printer, laser, online service | Ordering from US, EU and Chinese services |
Step 1: Pick a first project that can’t hurt anyone
Good first parts are small, have clear dimensions, and do a boring job:
- a cable clip or a spacer,
- a replacement knob (vintage receiver knob),
- a holder or hook for a light tool (French-cleat holders),
- a clip that broke (dishwasher rack clip, cargo-net clip from photos),
- a box for a USB gadget or a bought electronics module. When you are ready to put electronics in that box, electronics and hardware that go with printed and cut parts is the parts list.
Skip anything that holds a person, hangs a heavy load overhead, touches mains electricity or fuel, or goes in a vehicle’s safety systems. Buy a rated part for those. If you’re unsure whether a part should be printed at all, print, laser-cut or PCB? covers when each process loses.
Step 2: Measure and describe
AI models are good at geometry and bad at guessing your sizes. A useful description has:
- every dimension that matters, in millimeters (inch and millimeter mix-ups are one of the most common errors),
- hole sizes and the spacing between them,
- the clearance you want where two parts meet. A slip fit of 0.2–0.4 mm is a starting estimate on many FDM printers; test it on yours,
- what the part does and which way it gets loaded.
Example prompt:
Write OpenSCAD code for a wall hook for a 25 mm broom handle. Back plate 40 × 60 × 5 mm with two 4 mm countersunk screw holes 40 mm apart. Hook opening 26 mm. Put every size in a named variable at the top.
The full step-by-step version, with more examples, is how to make a 3D-printable part with AI. If you’re redoing a broken part, the test-coupon method shows how to check one feature at a time.
Step 3: Get a model from AI
There are three routes. Start with the first one; it costs nothing beyond a chatbot you may already use.
- A chatbot writing OpenSCAD. ChatGPT, Claude, Gemini and others can write code for OpenSCAD, a free program that turns that code into a 3D model. You paste, render, and export an STL or 3MF file. Because every size is a variable, fixing a hole is a one-number change.
- A text-to-CAD app. Tools such as Windchime and Confetti wrap the prompting and preview in one app, and some export STEP files that real CAD programs can edit. Compare them in the best text-to-CAD tools and AI CAD tools vs ChatGPT.
- AI working inside real CAD. With a connector called an MCP server, an assistant can drive Fusion or FreeCAD directly. That’s more powerful but needs more setup and still needs checking. See Claude rebuilding a MakerWorld STL in Fusion and AI driving CAD, the slicer and the printer.
Already found a model that’s almost right? Editing it can be faster than starting over. Check the license first: edit Thingiverse models with AI.
Step 4: Check the file and slice it
A good-looking render doesn’t prove the part fits. Before a long print:
- open the file in your slicer and measure one known dimension. If a 40 mm plate shows as 1.57 mm or 1,016 mm, you have a units problem,
- look at the layer preview for walls too thin to print and overhangs with nothing underneath,
- print only the critical part first: the hole pattern, the clip, the slot,
- tell the AI what went wrong in numbers (“the 8 mm hole printed at 7.6 mm”) and change one thing at a time.
A slicer is the program that turns the model into machine instructions. The printer maker’s own slicer is the easiest start; Bambu Studio vs xTool software shows what these apps do. When a print goes wrong, use the symptom table in why AI-generated prints fail.
Step 5: Make it
| Route | Best for | What you send | Read next |
|---|---|---|---|
| Print at home | Many small iterations, plastic parts | STL or 3MF | Printers we recommend |
| Online 3D print service | No printer, nylon or resin, a few copies | STL, 3MF or STEP | Ordering online |
| Laser cutting (makerspace or service) | Flat parts in wood, acrylic or card | DXF or SVG | AI to DXF |
| Sheet metal service | Stiff, flat or bent metal brackets | DXF or STEP | AI to DXF |
| PCB fab | A small low-voltage circuit | Gerbers or a KiCad project | AI PCB for beginners |
Bigger furniture-scale work can go to a workshop or factory instead: see custom furniture from AI designs.
Should you buy a printer first?
You don’t have to. Here is the trade-off.
| Own FDM printer | Online service | Makerspace | |
|---|---|---|---|
| Up-front cost | The machine | None | Membership or session fee |
| Cost per test piece | Filament only | Per-part price plus shipping | Material, sometimes machine time |
| Speed of a revision | Hours | Days, plus shipping | When you can book a slot |
| Materials | What your printer handles | Nylon, resin, metal and more | What the space owns |
| Learning curve | Calibration and upkeep | Mostly file prep | Their induction and rules |
The honest rule: vibe manufacturing is iteration, and iteration is cheapest at home. If you expect to make more than a handful of parts, a printer usually earns its place. If you want one part in nylon or metal, order it. Our printer page lists the Bambu Lab machines we point people to, and multi-color printing compared helps if you want color.
What it costs
There’s no single price, so here are published figures and labeled estimates:
- Software: OpenSCAD is free. A chatbot may already be on your plan. Text-to-CAD apps vary, so check their pricing pages.
- A printer: Formlabs’ technology comparison says budget FDM printers and kits start at around $200 and low-cost resin printers at $200 to $1,000 (their figures, US dollars).
- Material: the same Formlabs page gives $50–150 per kg for most standard filaments. A small test clip uses a few grams. An estimate: pennies to a few euros per test piece.
- Ordered parts: reported bills include $156 for a SendCutSend steel bracket and about €500 for ten PCB units, collected in what a vibe-manufactured part costs. Imports can add VAT, duty and carrier fees, as covered in the ordering guide.
Which material for a first print
For your first months, two filaments cover most jobs:
- PLA: easy to print, stiff, and fine indoors. Bambu Lab’s filament guide says it is not recommended at about 50 °C or higher, so keep it away from cars, radiators and dishwashers.
- PETG: tougher and more heat-tolerant, and a little stringier to print. A good second spool.
ABS, ASA, nylon and the carbon-fiber blends need more from the printer: an enclosure, dry filament, and sometimes a hardened nozzle. All of that is in the materials section of the advanced guide.
Creator video: “The 5 Filament Types You Need to Know (And What They’re Good For)”, by The Next Layer. A plain-language overview of the common filaments. Check your printer maker’s own settings before you copy any temperatures.
Ten beginner mistakes and how to avoid them
| Mistake | What happens | Fix |
|---|---|---|
| Vague prompt (“a nice bracket”) | Pretty, wrong size | Give every dimension in mm, as variables |
| Mixed inches and millimeters | Part 25.4× too big or too small | Measure one known size in the slicer |
| No clearance between parts | Lid or peg won’t go in | Add a tested gap; start from an estimate |
| Printing the whole part first | Hours lost on a wrong hole | Print the critical section only |
| Walls too thin | Gaps or snapped features | Keep walls of at least about 0.8 mm (a common service minimum) |
| Load across the layers | Part splits along a layer line | Rotate it so the load runs along the layers |
| PLA in a hot place | Part sags or warps | Use PETG or ASA, or move the part |
| Damp filament | Stringing, bubbles, weak parts | Dry it and store it with desiccant |
| Changing five things at once | You don’t know what fixed it | One change per test |
| Printing safety parts | Hidden failure later | Buy rated hardware |
The longer list with causes is why AI-generated 3D prints fail, and the habits that prevent them are in first-print fit tips.
Safety basics, in one place
- Printers get hot and give off particles and fumes while printing. Print in a ventilated room, and treat ABS, ASA and nylon with more care. The advanced guide cites the research.
- Resin is a skin sensitiser before it cures. Wear gloves and follow the resin’s safety data sheet.
- Lasers can blind and start fires. Use machines with their enclosure and interlocks working, wear eyewear rated for that laser when it isn’t fully enclosed, never leave a job running unattended, and never cut PVC or vinyl.
- Food contact: Prusa’s knowledge base advises against using 3D prints as food containers, because layer lines hold bacteria.
- Electronics: stay with USB or small batteries. Mains-powered projects are out of scope here.
Next steps
- Make one small part with the step-by-step how-to.
- Read the advanced guide when you need a stronger material, a laser, or tighter tolerances.
- Browse real projects by topic: 3D printing, laser and sheet metal, PCBs and software.
- Catch up on what people built this week in the weekly roundup.
- When the part is a case for electronics, use the electronics and hardware guide.
- Unsure how vibe coding, vibe CAD and vibe manufacturing differ? Read vibe CAD vs vibe coding vs vibe manufacturing.
FAQ
Do I need to know CAD to start vibe manufacturing?
No. A chatbot can write OpenSCAD code or a text-to-CAD app can draft the model. You still need to measure with calipers, read numbers in a slicer, and judge whether the part is safe to use.
Should I buy a 3D printer first?
Not necessarily. Online print and laser services take an STL, STEP or DXF and post the part. A printer pays off when you iterate a lot, because test pieces are cheap and fast at home.
What is a good first project?
A small, dimensioned part that holds nothing heavy and touches no mains power: a cable clip, a spacer, a knob, a hook for a light tool, or a box for a USB gadget.
Which material should a beginner print in?
PLA for indoor test pieces and PETG for parts that see more heat or stress. Bambu Lab's filament guide says PLA is not recommended around 50 °C or higher, so keep PLA out of hot cars and away from heaters.
Is this guide sponsored?
No. Tools, shops and creators are named as examples from public sources. None of them reviewed or endorsed this guide, and links are plain links.